Friday, August 30, 2013

60s Mod Couch Reupholster -- Installment 6

Last time we put on the inside back of our sofa. Today we are going to put on the outside arms and back of our sofa. 

Depending on the style of your sofa or your personal preference you may or may not want to put cording on the arms and back of your sofa. I decided I wanted cording on mine so the first thing we did was take our measurements for the cording. We measured up the arms and around and then across the back. It was a lot of cording! I'll explain in a later post how to make the cording but for now just know that you need to leave a 1/2 inch allowance on your cording. 

We stapled the cording around the sides and back of the sofa. When you get to the corners make a small cut in your 1/2 inch allowance to get a tighter fit around the corner. You can also use a pair of pliers to squeeze the fabric together if necessary to get an even tighter curve.


 Get it as close to the corners and edges as you can, try to keep a straight line (or follow curves if necessary). 


After you have your cording stapled on next you will want to staple on your Ply-Grip (also called Curve Ease). Of course if you aren't using cording you'll start with this step. Did you ever wonder how they get fabric on things without the staples showing? Ply-Grip!

In our case we butted the Ply-Grip up against our cording. Be sure to staple each hole in the Ply-Grip. This does take a little precision with the staple gun. You can see the little metal teeth that grab the fabric in the second photo.


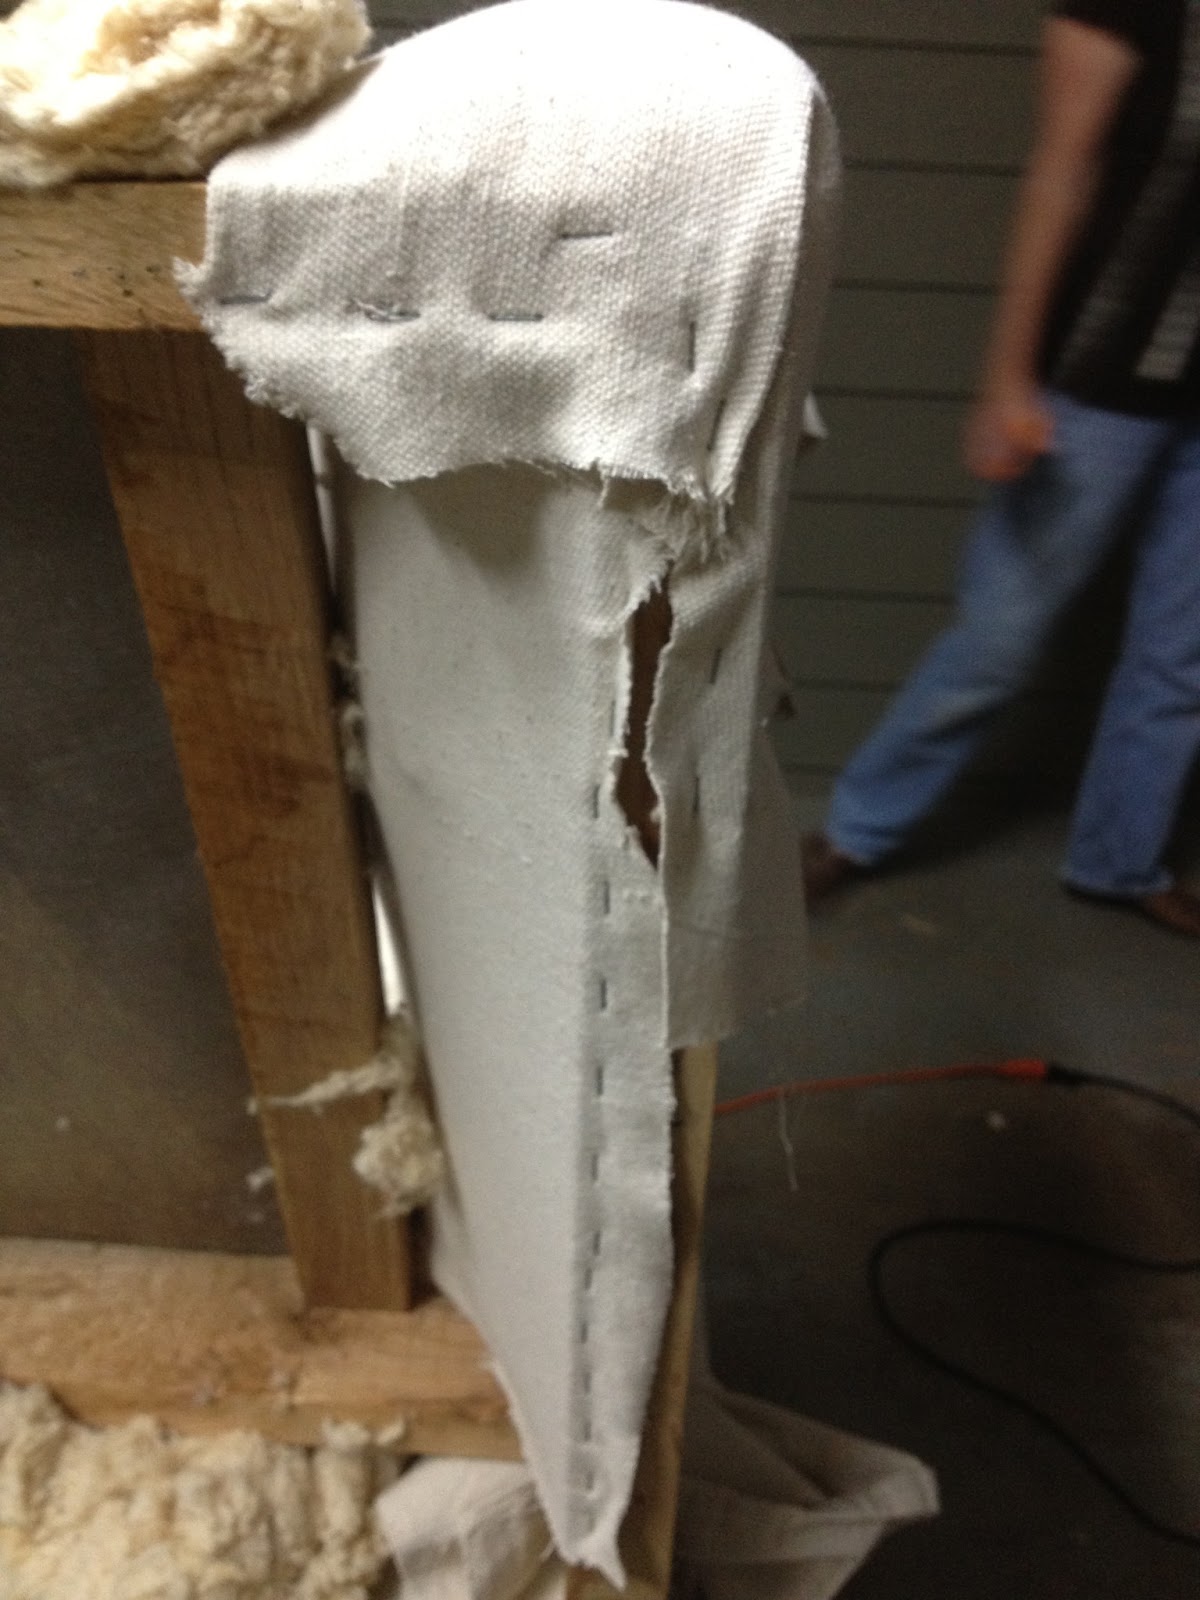
You'll want to put any cotton batting on before you put your fabric in the Ply-Grip. For the outside of our sofa arms we had a thin piece of cardboard that reused from the original upholster (found when we took the sofa apart). And for the back of our sofa we ended up stapling a piece of cotton fabric cut from a bed skirt. (You could use any spare piece of fabric for this since it won't be seen.)


After you have your cotton batting in place, measure your fabric for the area you are covering. Remember when you measure and cut your fabric to leave two inches on each side! Put the outside arms on before you put on the back of the sofa. After you do the outside arms of the sofa you'll need to go back and staple more Ply-Grip down the back sides (by the arms) so the fabric on the back will have something to attach to on the side (the place where the back of the sofa joins the back of the arms).

For the Ply-Grip take the little metal teeth and bend them upwards at a 45 degree angle. Take a cake spatula and press your fabric into the valley you've created.


It should catch slightly on the little metal teeth. Once you've pressed in around all the sides take your scissors and angle them into the valley and very carefully cut off the excess fabric.


When you have the excess fabric cut off you'll need to take your hammer and hammer the little teeth flat. You already have them bent upwards so just hammer them flat, like you are hammering them closed. This will pull the fabric taut across the area.


On the sides and the top where the Ply-Grip butts against the cording use the flat spatula to get a nice tight, clean fit.


When you have all your Ply-Grip hammered down you'll need to staple your fabric to the bottom of your sofa frame. In other words, completely finish the outside sofa arms before you move to the back. Now you have finished the outside arms and back of your sofa!


Friday, August 16, 2013

60s Mod Couch Reupholster -- Installment 5

If you've been following along you'll remember that last time we put on the inside arms of our sofa. This time we are going to put on the inside back of the sofa (the part the cushions will be against).

Of course the first thing you'll do is measure the inside back of your sofa to know how big to cut your fabric. Remember to add two inches to each side. When you have your fabric cut lay it across the inside back of the sofa.

Here again you'll be making cuts to go around the sofa frame. Same as before you'll use the needle to get the angle of your cut. Cut one side at a time and staple (described below) then move to the other side and do the same.


When you have made your cuts to go around the top and the bottom frame, push the fabric through to the back so you can staple it to the frame.


Start in the middle of the side and staple out to the edges of the side. As always, staple a little out from the center and then move to the other side of the center. Staple one side completely and then move to the other side, make your cuts to go around the frame and repeat. For now don't staple the part of the fabric above where you made cut at the top. (We'll get that when we staple the top part of the inside back.) Next you'll move to stapling the top and the bottom. Same thing here, staple a little on the top, staple a little on the bottom, moving back and forth from side to side and top to bottom. The reason for all of this is moving back and forth is so that you can keep your fabric pulled tight and wrinkle free. The picture below shows the part of the frame where you will staple the top. Basically just pull it over the top and staple it to the piece of wood there. Staple it as close to the bottom of that part of the frame as you can. You'll need to staple cording here later and you don't want your staples to show.


The picture below shows where you will staple the bottom part to the frame. You don't have to worry so much about your stapling here, it will be hidden by the back of the sofa.


At the top where you made your cut you'll want to make a pretty fold and staple that down. The staples will hold the fold in place. In the picture below the fabric isn't stapled down yet so forgive the pucker, it is more to show the fold. Also: you might need to cut out a little of the extra fabric when you are making the fold. Just be sure and not cut too much out.


When you have your fabric stapled on all sides you'll want to cut off your excess.


And there you have the inside back of your sofa! (my apologies readers, I neglected to take a picture.)

Friday, July 26, 2013

60's Mod Couch Reupholster -- Installment 4

If you'll remember last time we put on our sofa decking. This time we are going to put on the inside arms of the sofa. We are changing the look of sofa arms - no more seam and cording running up the middle - so we needed to add more padding to each of the arms. We first took the staple gun and stapled the existing foam to the sofa frame.


Next we measured and cut a piece of foam to cover the wood frame arm visible in the picture above. When we had that cut we stapled it in place.


The arm already had foam on the inside so we left that as is.


We covered both of the inside arms in cotton batting.


We then measured and cut our fabric. Remember to add two inches to each side you cut. So here you'll add two inches to both of the sides, the top and the bottom. Place the fabric over the inside of the arm.


You can see we have the needle back out (being held in the photo above). You'll need to make a straight cut this time to go around the frame arm in the front and the back. The picture below shows you where you'll want to place the needle on the backside of the arm in front.


After you've made your cuts (remember front and back) next comes the fun part - stapling! Staple the same way as before. Start in the middle, go out a few on either side, then move to the bottom and do the same. After you've made a few staples in the bottom, move back to the top. Rinse, wash, repeat. Remember to pull your fabric tight and not make any wrinkles or puckers. Stop before you get to the front and back of the arms on the top since you'll be making special curves/folds there (see later in post). Since our sofa arm is curved at the top, we made cuts in the fabric to help it go around the curve.


When you've got the top (all except the very front and back) and the bottom stapled, move to the sides of arms. In back you'll need to make a special fold at the top. The style that you make this curve in is a personal preference. You can see in the picture below that we tucked our fabric under and stapled for our fold. Remember to staple back far enough to get the back of the sofa on.


The fold in the front is also a personal preference. We wanted a clean looking fold since the couch has straight lines. We had to fiddle with it many times to get it a way we liked it.


Once everything is stapled, go around and cut off the excess.


Ta-da! Now you're finished with the insides of the arms.
Join us next time for another installment of the sofa re-do!

Friday, July 12, 2013

60s Mod Couch Reupholster -- Installment 3

Last time we removed all of the old fabric off of our couch. Now it was time to get to work on the upholstering. We took notes as we were taking all of the old fabric off of the couch. I recommend that you do this as well. One thing we wrote down was the order that we removed the pieces of fabric. The reason for this is that you will want to reupholster in the reverse order. That meant the very first thing to do was to put on the seat deck and the front frame cover. For our fabric we actually ended up using a paint drop cloth which is just natural cotton canvas. This is a durable, inexpensive and easy to clean option. 

Some people upholster by keeping the old pieces of fabric to use as patterns. Mom wasn't taught that way in her class. This is why you won't see us using patterns on the sofa (we did keep them for the cushions but didn't end up using them). 

First thing we did was measure the width and length of the front of the frame cover. You will want to add two inches to all sides. The purpose of this is to make sure you have enough fabric. I suppose you don't have to do this if you trust your measurements but I say better safe than sorry! When you have your measurements  go ahead and cut your material.


Next measure from the front of the frame to the back of the couch, called the back rail. You can't actually see this piece when the couch is covered with fabric. Measure the length. Again, be sure to add two inches to all sides. 


It is probably a good idea to be writing these measurements down as you go. Cut out this piece. When you have your two pieces cut, sew them together leaving an inch seam allowance. 

When you have the two pieces sewn together find the center of the fabric and the center of the couch. Pin in place. Then pin the rest of the way down the couch.


Once you have your fabric pinned down you'll want to take a large curved needle that's been threaded with button twine and run it through your 1 inch seam allowance, through the bottom of the couch, around the spring, and back up. Repeat down the whole length of the couch catching every spring.


Once you are finished sewing the decking to the springs you are ready to start stapling. First you'll want to pull the front frame cover down and staple it to the bottom of the front rail, starting in the middle.


Be sure to cut around the middle couch leg.


Start at the center and staple about half way down both sides then it's time to move to the back. Staple the same sections that you stapled in the front. Once complete move back to the front of the couch. Keep working in small sections like this, moving front to back, until you have almost the entire front and back stapled. In the back the goal is to staple the fabric to the top of the back rail. You can't see much detail from the picture, but that is what we are doing here.


If you'll remember we stopped stapling the front and the back before we got all the way to the edge. The reason for this is you'll have to make cuts in the corners to get the fabric around the frame to staple to the sides of the sofa. To do this we used a large needle and stuck it through where we would be making our cuts. You'll need to make a straight cut towards the needle. The second cut go back about an inch from the needle and then make a small cut at a 45 degree angle to the same depth as the first cut. We added a small black line to the second photo to show you where to place the cut. The purpose of the second cut is to go around the arm post. 


Pay extra attention to make sure your fabric doesn't pucker. Once you are satisfied you can start stapling the fabric to the sides. Again, start in the center and work out in small sections, alternating side to side from the center (staying on the same side of the sofa until the side is complete). After you have stapled the fabric to the front rail, the back rail and the sides you'll want to cut off the excess (remember you measured two inches extra for good measure). 

You'll notice that our fabric is the same for the deck piece and the front frame cover. It isn't uncommon to have the decking be a less expensive solid piece of fabric from the rest of the sofa. Since we were using canvas we decided to just go ahead and make them the same.

Now it's time to sit back and relax on your new sofa decking!!

Join us next time as we upholster the sofa arms in installment 4.

Friday, July 5, 2013

A Place to Settee!!

My cousin has been learning to upholster at the same time I have. She brought over her own project and we would work on my project for a while and then work on her project. Unlike me, she is smart and chose something that wasn't a sofa for her first project. Her project was a settee that her dad gave to her. I can remember sitting on this when we were small children. Here are some before pictures.


As you can see it's a beautiful piece of furniture. However, with the burnt orange velvet upholstery it was stuck in the 70's. The first thing we did of course was take off the old upholstery. Then since it was a little wobbly we went about trying to strengthen the frame. We put some glue on the joints and then strapped a belt around it to keep it in place while the glue dried. We made sure to put something on the top side of the belt so that the furniture wouldn't be scratched.


I find the insides of furniture fascinating (that's the sofa in the background).


After we took off the bottom and removed the old upholstery we took the bottom board and traced around a new piece of foam (the old was too degraded to be re-used). To cut the foam it is best to use an electric knife. No joke, an electric knife! This is a trick my mom learned in her upholstery classes.


We took our piece of foam and sprayed it with a spray adhesive. Next we covered it with a piece of bonded polyester cushion wrap. If you are using this spray adhesive be sure to work fast. Also, it is a little hard to remove from your hands with plain soap and water, but it will come off easily with nail polish remover.


Next we covered the foam and poly with the cushion cover we had made from our chosen fabric.


To cover the inside back we first put back on the old cotton batting and measured for our fabric.


We found the point we had designated as the center of our fabric and pinned it in place.


Next we spread out our fabric and started stapling around the edges.


Once we had stapled around the fabric we cut off the excess.


This piece has double cording so we hot glued it on.


And here is the final product. Much, MUCH improved!!